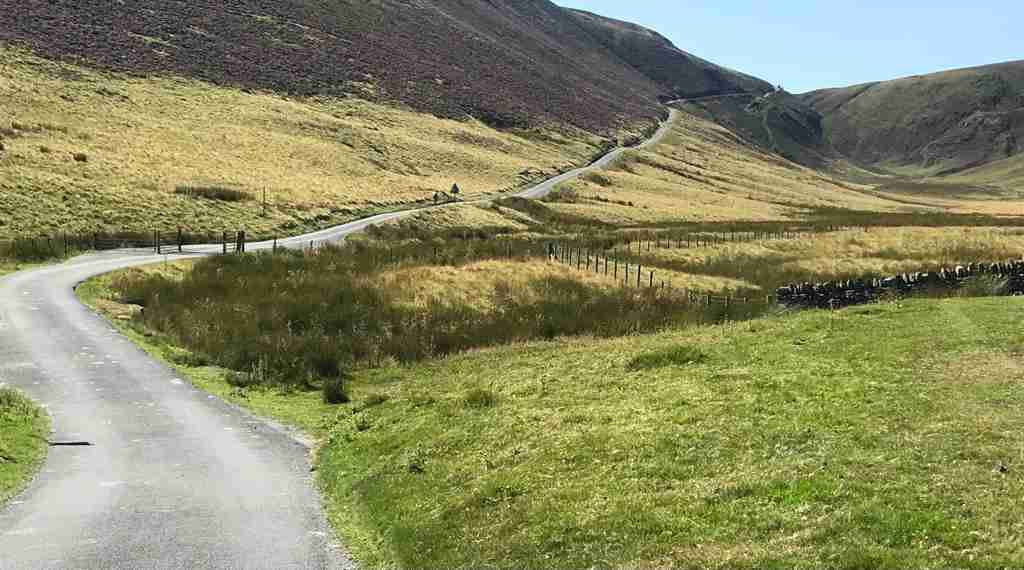
Introduction
If you’ve ever wondered how to ride up hills faster on your bike, this post is for you!
I am always looking at ways to improve on the bike, whether that’s been faster or making sure i don’t fall off so often. However there is always one thing I am constantly striving to improve, and that is be better at climbing hills. Whether it’s powering up local climbs or conquer the mountains, becoming better at climbing can be one of the most exciting and rewarding parts of cycling.
But climbing can also be one of the most intimidating elements of cycling. Grinding to a halt on a climb or seeing other riders ride past you seemingly with ease is never enjoyable.
Refining your climbing skills, from climbing technique to kit choices, and you’ll see impressive results. Read on to find out more.
Gear Up for Success
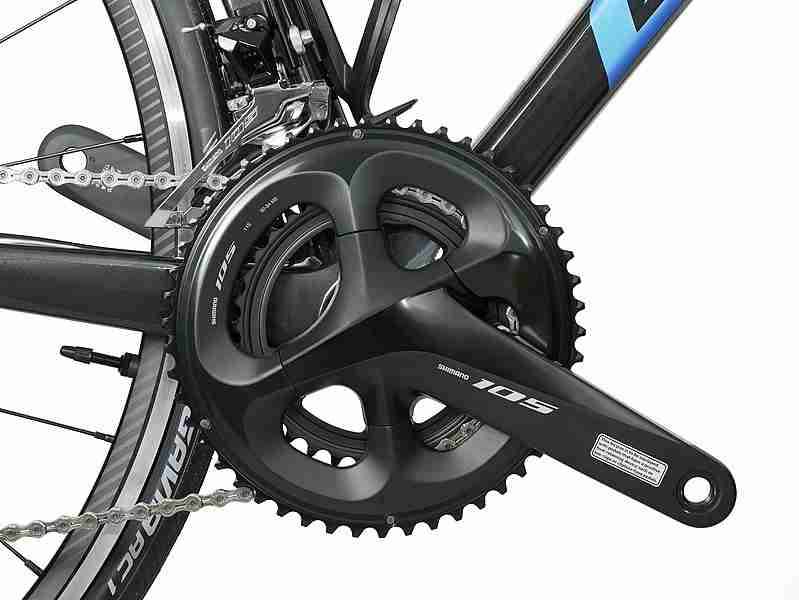
In this part of the article, we’ll focus on how to gear up for success. We’ll start by exploring the importance of gear ratios, which can dictate just how much leg power is needed to make it up challenging inclines. From there, we’ll move on to another crucial factor: front chainring options. By the end of this discussion, you’ll have a better sense of how to choose the best gear for your next hill-climbing adventure.
The Importance of Gear Ratios
Optimizing gear ratios is crucial for cyclists as it determines the efficiency and ease of pedalling and makes you better at riding up hills. The appropriate gear ratio depends on terrain, speed, and physical ability. Improper gearing could result in either leg fatigue or failure to climb hills as you come to a grinding halt. Therefore, understanding the importance of gear ratios will assist you in maximizing their potential while minimizing effort. How you can tell if you have the correct setup, is simple. If you always climb in the lowest gear and are in your lowest gear on the first climb, you need to revise your selection.
Efficient front chainring options are a fundamental aspect of achieving maximum performance during cycling. Depending on terrain and riding conditions, choosing the appropriate size chainring is key in optimizing gear ratios. Cyclists can select varied combinations of chainrings to achieve the desired ratio for optimal power output during pedalling. You maybe better off with a compact chainset, the inner of the double cranks has 34 teeth. Stronger more experienced riders may look at moving from a 23/11 rear cassette to a 25, 26 or even a 30.
The correct selection of gear ratios helps to avoid unnecessary leg fatigue and ensures effortless pedalling. Proper cadence intervals ensure greater exercise efficacy, with fewer energy wastages, attaining maximum power with less exertion.
A cadence of around 80-90rpm should conserve your energy, however this will drop on steeper inclines and the cadence should be metronomic
Choose your front chainring wisely, because it can make or break your climbing game.
Front Chainring Options
Optimizing bike performance for a hill climb requires careful consideration of many factors, including proper front chainring options. A well-selected chainring can make climbing easier and more efficient by matching the physical characteristics of the rider.
| Chainring Size | Teeth Count | Efficiency Level |
|---|---|---|
| Compact | 50/34T | The most versatile choice for general riding and climbing, as it has a wider range of gears to choose from. |
| Standard Double | 52/36T or 53/39T | A fairly popular choice among road cyclists who regularly participate in competitions. |
| Sub-Compact Double | 48/32T or 46/30T | An increasingly popular alternative which offers more range than a single-ring setup but less than a double-set up. |
| Cyclocross Chainrings (for Road Bikes) | Variations range from 44 to 46 teeth in the outer ring and between 34 and 36 teeth in the inner rings. | A good choice for serious road cyclists who want/would occasionally use off-road gears but not have to massively sacrifice on-road gear ratios. |
While selecting the chainring, it’s important to consider your fitness level, style of riding as well as the geography of the area. The front chainring options available can cater to a wide range of preferences and requirements.
Fuel your Climb

As any seasoned cyclist knows, hills are one of the most intimidating aspects of a ride. One of the keys to riding up hills faster is to fuel right. That’s why I’ve dug into the research on how to fuel your climb. In this part, we’ll explore two distinct approaches: the low-fibre breakfast approach, and proper carbohydrate intake. By uncovering the science behind these methods, we can optimize our nutrition for maximum hill-climbing performance.
The Low-Fibre Breakfast Approach
Starting your day with the right breakfast is essential for a successful day in the saddle, and ‘the low-fibre breakfast approach’ is an effective solution to fuel your ride. Instead of high-fibre meals that can cause discomfort or digestive issues, choosing low-fibre options like oatmeal, eggs, or fruit juice provides the energy required to start your ride without any hardships.
Low-fibre breakfast options are easily digestible and gives the digestive system ample time to settle before starting uphill. Choosing low-fibre options may not be sufficient if you have a longer distance or more intense climbs in mind. In such scenarios, you need to add protein and simple carbs to avoid running out of steam during extended periods of exertion.
The emphasis should be on moderate glycaemic index (GI) foods such as porridge, berries, or toast with honey that release sugar slowly over time.
Proper Carbohydrate Intake
Optimizing carbohydrate intake is vital to climbing efficiently. Carbohydrates are the primary source of energy in physical activities, and inadequate consumption can lead to fatigue. The right amount of carbohydrates keeps your muscles fuelled throughout the climbs. you need to maintain blood glucose levels and this can be achieved through consuming gels or energy bars or even as simple as an energy drink. 250ml of sports drink takes around 15 minutes to be completely absorbed.
A suitable approach for proper carbohydrate intake is to consume between 60 and 90 grams of carbohydrates per hour, depending on your body weight and the intensity of the ride and climbs. Make sure to consume easily digestible carbs like energy bars, gels, chews, jelly babies etc.
Train Your Functional Threshold Power
One technique that will help improve your results is training your functional threshold power (FTP), which is the maximum sustainable power output an athlete can maintain over time. In this segment, we’ll be exploring how to increase your FTP by first understanding what it means and why it’s important. We’ll then dive into interval training as a means to improve your FTP, backed by scientific research and real-world examples. If you’re looking to take your hill climbing to the next level, stick around to learn more about training your FTP.
Understanding Your FTP
Functional Threshold Power (FTP) is a vital metric for cyclists that helps them understand their performance potential. It is defined as the maximum power a rider can sustain for one hour and is measured in watts per kilogram of body weight. Knowing your FTP helps you to structure your training regime by setting appropriate goals and tracking progress. Your FTP reflects your aerobic fitness level, which improves with consistent training.
To improve your performance, it is necessary to ascertain your current FTP, which involves carrying out an FTP test. This involves performing an all-out effort for 20 minutes while recording average power output and heart rate. The recorded values are used to determine the rider’s Functional Threshold Power. A more precise method is through lab testing, but this requires help from professionals. The majority of training apps, like TrainerRoad, Zwift, Wahoo X and many others, include a 20 minute FTP test.
Understanding your FTP allows you to tailor specific workouts and train at appropriate levels based on zones calculated from your FTP value. By doing so, you can layout effective training plans that target specific zones and attain maximum results in minimum time.
To better understand these zones, take a look here, where TrainerRoad explain the seven different power zones. Active recovery, Endurance, Tempo, Sweet Spot, Threshold, VO2 Max, and Anaerobic Capacity. Each power zone is defined by a percentage of your Functional Threshold Power (FTP). The time you can spend in each zone is progressively limited. For example, athletes can generally stay in their endurance zone for multiple hours but can only stay above anaerobic capacity for a handful of seconds.
Interval Training to Improve FTP

To enhance an individual’s FTP, a specialized method known as interval training is employed. This exercise involves intense sessions of short and long periods of high-intensity cycling interspersed with active recovery performed in intervals. The aim is to boost the body’s efficient use of oxygen for energy, thereby increasing one’s FTP capacity. By adjusting the duration and intensity of the intervals, you can create a workout that is challenging yet manageable.
Here is a 4-step guide on how to perform interval training to improve your FTP:
- Ascertain the interval intensity based on training goals
- Ascertain the interval duration
- Ascertain the recovery intensity
- Ascertain the recovery duration
Step 1 Interval Intensity
Finally to finish up here, enhancing your FTP through interval training will play a crucial role in overall muscle endurance development and can lead to massive improvements in overall biking efficiency.
Interestingly, this workout structure was initially designed for runners during the 1930s by Woldemar Gerschler before being developed further by Peter Coe into what we know it today as “interval training.”
When to Sit and When to Stand
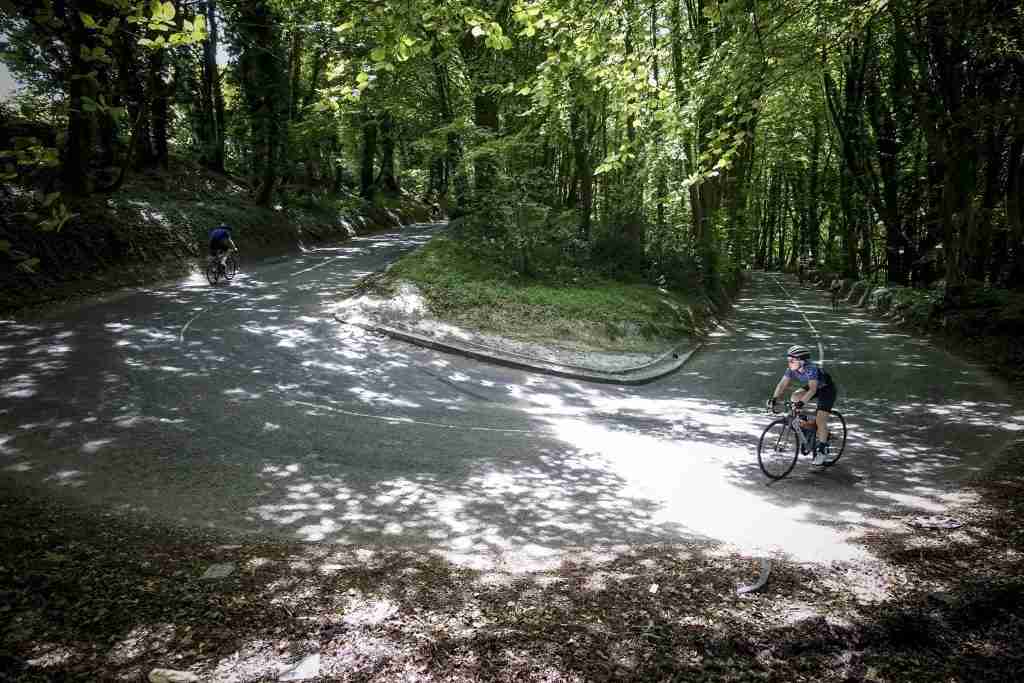
Choosing between sitting and standing is like choosing between comfort and power, it all depends on the climb!
Riding up hills requires a lot of mental and physical stamina to keep pushing forward. In this part of the article, we will dive into the strategies of when to sit and when to stand when going uphill. Furthermore, we will explore the benefits of adopting different riding positions for varying hill gradients.
A cyclist’s speed going uphill is the product of power, weight, and technique. As much as the first two get most of the focus, technique can make a huge difference in how comfortable, confident, and economical you are on climbs.
Improving your body position for seated climbing and standing climbing on the bike gives you the opportunity to maintain momentum instead of losing it. Using your body weight more effectively, helps spread the work of climbing across more muscles to improve fatigue resistance, reduce back pain, and prevent numbness in your hands. Let’s explore these techniques.
Staying Seated on Gentle Climbs
On gentle climbs, aerodynamics can still play a role in conserving energy while maintaining speed. As the slope becomes shallower, reducing drag is key to maintain momentum. One way to achieve this is by staying seated and aiming for a streamlined position. It’s also recommended to maintain a steady cadence and keep your weight balanced over both wheels to avoid excess pressure on rear or front wheels.
In addition to these techniques, it’s beneficial to use gear ratios that place you in the most efficient power output with each pedal stroke on gentler inclines. Aerodynamic advantage comes from small details such as tucking elbows in and leaning into the climb while staying relaxed yet focused.
Remember that steep hills require standing up for more power output.
Standing for Steeper Climbs
To tackle steep climbs, it may be necessary to change your position on the bike by standing up. Standing on the pedals lets you take full advantage of your body weight, but you can’t stand all the time because your legs and upper body muscles fatigue relatively quickly when your weight isn’t being supported by your saddle.
In addition to standing and sitting positions, shifting gears is essential when tackling hills. By switching to smaller front chainrings and larger rear cogs, you can maintain a steady cadence while taking advantage of mechanical advantage.
Lighten Your Load
When it comes to cycling uphill, every gram of weight can make a significant difference. That’s why I’ve explored some strategies for reducing mass in my cycling gear. By lightening my load, I’ve been able to perform better and climb hills more efficiently. Here we’ll consider the most effective ways to shed extra weight, and how this can impact your uphill riding.
The Role of System Mass
Optimizing performance while climbing hills involves various factors, and one of the crucial ones is “the contribution of system mass.” The overall weight of the bike and rider, including gear and accessories, affects the energy required to climb a hill. When the system mass is high, it takes more power and effort to climb uphill than when it’s lower.
To reduce the impact of system mass on hill climbing capabilities, cyclists can make adjustments by replacing heavy components with lighter ones or taking off excessive accessories that are not needed for the ride. Even small changes in weight can result in substantial energy savings while climbing.
In addition to adjusting equipment weight, cyclists need to monitor their bodyweight as well. Proper nutrition and hydration help prevent an imbalance between calories expended during a ride and those consumed through food intake. By doing so, they maintain optimal body composition to excel in hill climbing performance.
Fun Fact: During the early days of professional cycling racing events, excessive sweat loss from competitors worried officials who thought they were losing too much weight causing harm to themselves. Hence they created laws that forced riders to carry lead plates on their bikes as proof they had not lost too much weight during races.
Climbing hills is tough, but shedding some weight off your bike can make it easier; less mass equals faster ascents.
Embrace Hill Repeats
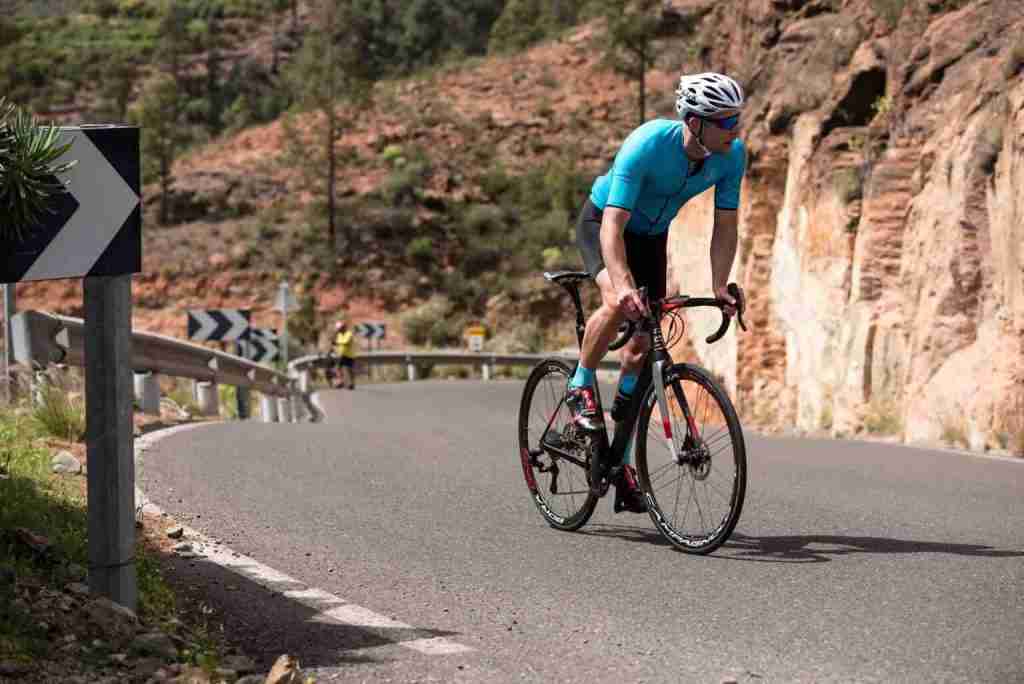
I have learned that to be better at riding up hills faster I need to embrace hill repeats, it’s not just about brute strength – there’s a technique to it.
In this part of the article, we’ll explore why hill repeats are so effective, as well as the specific steps you can take to make the most out of your hill repeat workout.
The Benefits of Hill Repeats
Hill repeats are a great way to improve your cycling performance, and in doing so, they offer many benefits. Here is an informative guide on the advantages of such practice.
Here are the advantages of hill repeats:
- They help to enhance your cardiovascular system by increasing your heart rate and improving blood flow.
- Repeating hills helps you to strengthen your leg muscles as well as enhancing power output.
- Climbing steeper hills becomes much more natural and enjoyable since it will no longer feel like a struggle.
- Hill repeats train the body’s lactate threshold which means that you can ride for much longer before fatiguing.
- Making hill repeats part of your routine helps boost confidence levels when riding outdoors.
If done consistently, following a few best practices will lead to significant overall improvements in cycling performance.
Here are some helpful tips to ensure you get the best out of these sessions.
1. Target range
One major key to successfully approaching hill repeats is using ‘ranges’ when it comes to training intensity targets related to heart rate figures, power numbers and perceived exertion.
Many cyclists target a singular number for their hill repeat intervals and subsequently find it difficult to pace these efforts accurately, especially when new to training with power, which can be quite variable in comparison to heart rate.
It’s important to remember than intensity is a broad spectrum, intensity levels tend to blur into each other, so padding out an intensity target with a range above and below to operate within is unlikely to hinder the adaptive response, so long as the range is not too broad for the stimulus you are trying to induce.
Tip: Instead of targeting 250 Watts or 170 BPM as your target for a set of intervals, try something like 235-265 Watts or 165-180 BPM as your target range. If you allow yourself that kind of margin, you’ll often find you pace your intervals very close to the overall number you would have set anyway.
2. Negative splitting
The idea of a negative split, is simply to go faster in the second half of a session than in the first half.
In trying to negative split your overall hill repeat interval session by not going too hard, you can help improve the chances of completing the full set of repeats at the necessary high intensities.
Negative splitting also applies on a “per interval” basis too, where it often works well to start an interval off conservatively (i.e. at the lower end of the target range) and then increase the effort progressively as you go through the intervals.
3. Varying Gradients
The effectiveness of your cycling hill repeats can sometimes be improved by choosing climbs that offer varying gradients within a single repeat. A suitable hill might start off steep, transition to a flatter section and then pitch up again towards the end.
What this can do is help you to better cope with changes in your pedalling style (like cadence, seated or standing pedalling etc.) and breaks in your rhythm, whilst still maintaining a high-power output.
4. Change each Repetition
Hill repeats, like most interval-based workouts, are tough physically and mentally, and to get the most from them, you’ll often be forced to dig deep and push through some significant discomfort. From a psychological perspective, you can make them more bearable by riding the same hill, but in a slightly different way each time.
As an example, you might perform the first interval at a constant intensity top to bottom, the second interval going hard for 30 seconds and easy for 30 seconds repetitively, and the third starting and ending the interval very hard with a more steadier state effort in between.
5. Recovery time
Finally, building on the subject of adjusting training variables, the recovery time you allow yourself between your hill repeats can have a big impact on the tolerable duration of the workout as a whole and the adaptive stimulus it provides, as we discussed previously.
As an example, if your session is aimed at improving your maximal oxygen uptake or anaerobic capacity for instance, you’ll want to give yourself plenty of recovery time so that you can produce the necessarily high-power outputs in the next interval repeats.
On the other hand, in other workouts, especially those focused on lactate tolerance or buffering capacity, keeping recovery intervals short in duration will help with the accumulation of lactate and the metabolic by-products of anaerobic metabolism, which can be a major factor in the quality of these specific adaptive stimuli.
The Art of Pacing
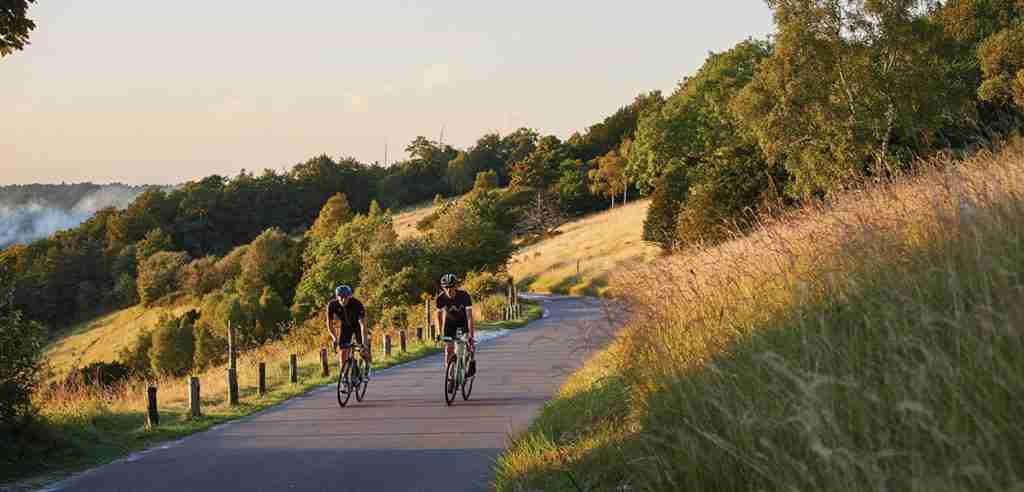
When it comes to cycling uphill, I’ve learned the hard way that it’s all about finding your own pace. It’s an art form, and one that can make a huge difference in your overall performance. In this segment, we’ll delve into the importance of pacing, and how it can help control power, heart rate, and cadence. Let’s dive in and explore the nitty-gritty of mastering the art of pacing for a better uphill cycling experience.
Controlling Power, Heart Rate & Cadence
To climb efficiently, it is crucial to control the power you exert, your heart rate, and cadence. Maintaining a balance between these factors ensures you exhibit optimal performance while ascending hills.
- Controlling your power output helps conserve energy and avoid early fatigue while ensuring steady momentum uphill.
- Knowing when to increase or decrease your pedal revolutions per minute (RPM) offers varying degrees of resistance to control the workload on muscles and avoid surpassing your Anaerobic Threshold (AT).
Keeping a check on your heart rate while ascending hills ensures you stay within the optimal range for endurance training. Know your current fitness. This means knowing:
The power you can currently put out for a given duration
Your current threshold power or heart rate, so you know when you’re going into the red
Your overall endurance so you can pace both the climb and the ride as a whole
How you currently handle different pedalling techniques
Use the data you’ve collected from previous rides as well as your own intuition to inform this kind of understanding.
Know the climb
This includes information like:
The distance of the climb
How long the climb is likely to take at your intended effort level
- The gradient profile of the climb
Once you know your body’s current capabilities and the climb you’ll be tackling, the final step is to combine the two together into a pacing strategy. Within this pacing strategy, you’re going to want to consider things like:
- If you should mostly stand up on the pedals or stay seated in the saddle
- Where to get into a more aerodynamic position if there are faster sections
- What power or HR figure you’ll set as your target for the climb
- Where to push harder and where to back off if the climb isn’t a consistent gradient
- Fundamental to all of the above is going to be what type of climbing effort you’re wanting to actually do.
You might for instance want to ensure you get over a climb with as little energy expenditure as possible, such as in a long sportive for instance, whereas at the other end of the scale you might be looking to get the current KOM on a local climb, with a maximal effort.
In the first scenario, a consideration of things like gear selection and cadence will be important, whereas the latter will benefit from even further research into the current KOM holder’s effort, including the power they produced, their power to weight ratio and their approach leading into the segment.
Finally
- Break longer climbs down into smaller sections, concentrating mostly on completing each section at the correct predetermined intensity
- Don’t white knuckle a climb unless it’s really short. You can use up precious energy by holding onto the bars too tightly or pulling excessively from side to side.
- Use constant positive reinforcement as you climb, telling yourself things like you’re strong, you’ve done this kind of thing before and try think back to previous training sessions that went particularly well
- Gamify the climb by seeing how tightly you can keep your power or HR within the target range, since this distraction will also help you manage the pain better
- Create a dedicated screen for climbing and interval training on your bike computer, so that you have the right metrics in clear view.
- Try to keep your head up and shoulders open as opposed to looking down excessively or letting the shoulders collapse in. This will help with more efficient breathing and prevent any obstruction to the airways.
Now you have all the tips on how to be better at riding up hills faster, you can put all this to the test on ‘The Three Counties Tour’ in September, or if that’s too soon then take a look at our upcoming ‘Welsh Wanderer’ in June 2024, where you will you can test yourself on some amazing roads. There’s plenty of time to get training!
Five Facts About How To Be Better At Riding Up Hills:
- ✅ To climb hills faster on your bike, you should choose the right gear ratios that suit the terrain and your fitness level.
- ✅ Nutritionist Will Girling recommends a low-fibre breakfast, such as a banana and almond butter on toast or a bowl of white rice and eggs, to replenish glycogen stores before taking on longer rides, especially hillier routes.
- ✅ Cycling hill repeats, where riders do an hour up and down the same climb, using the descents as recovery, can help boost stamina and aerobic capacity.
- ✅ It’s better to sit when climbing up gentler slopes as it is more aerodynamically efficient, but standing up may give more power on steeper climbs where aerodynamics are less important.
- ✅ Dan Bigham, suggests reducing your bike and body weight to improve climbing speed as it’s the watts per kilogram that matters at low speeds.
FAQ’s about How To Be Better At Riding Up Hills
How can I improve my ascending skill set for cycling uphill?
Refine your climbing technique and kit choices. Consider your gear ratios, front chainring options like a compact or semi-compact, and opting for a cassette with at least a 30-tooth sprocket. Train your functional threshold power (FTP) and try threshold on/off sessions. Practice both seated and standing positions and consider reducing your system mass with a lighter frame, handlebar, wheels, cranks, shoes, helmet, and clothing.
What should I eat before a hilly route to improve my uphill cycling performance?
Aim for a low-fibre breakfast with around 1.2g of carbs per kg of body weight, such as a banana and almond butter on toast or a bowl of white rice and eggs. Low-fibre food is popular with pro riders as it’s light and easy to digest. Avoid high-fibre food, as it can feel heavy on your stomach when you climb. Give yourself an energy boost 15 minutes before the climb with fast-absorbing carbs, like gels, drinks, and energy bars, and consider adding caffeine (at least 3mg per kg of body weight) to reduce the rate of perceived exertion.
What are some training sessions to improve my climbing capabilities while cycling uphill?
Hill repeats are a sure-fire way to improve your climbing. Do an hour up and down the same climb, using the descents as recovery. This will boost your aerobic capacity, stamina, and mitochondria performance. Threshold on/off sessions can help you cope better with climbing. Doing efforts at 140-150% of your threshold power for 30 seconds on and off during your training rides will help push up your threshold. Training on hills is also ideal for building endurance and mental strength for hill climbs.
How can I pace myself when climbing uphill on a bike?
Aim for a speed and gear choice that preserve your energy. For those less experienced at longer climbs, keep things controlled early on in relation to power, heart rate, and cadence. Don’t go all out early on and try to maintain a consistent effort throughout the climb. Use your breathing and pedal at a rate that you can sustain for the duration of the climb.
What is the best way to lighten my load for more efficient uphill cycling?
Reducing your system mass – that’s you and your bike – can significantly improve your uphill cycling performance. Consider investing in a lighter frame, handlebar, wheels, cranks, shoes, helmet, and clothing. Shedding excess body fat can also help.
How can I tackle steep switchbacks when cycling uphill?
Approach the turn with a wide and smooth line to reduce the gradient’s gradient. Keep your upper body loose and your hips towards the outside of the turn. Shift your weight towards the front of the bike to keep your front wheel down. Use your outside foot to push down as you steer the bike towards the apex of the turn. Then, use your inside foot to pedal lightly as you exit the turn and resume your climbing position.

Leave a Reply